How do you check your snowboard before lessons?
Checking your snowboard before the lesson is essential for a safe and effective snowboard lesson. A thorough equipment check prevents injuries, improves your performance on the slopes, and ensures you get the maximum out of your lesson time. By systematically inspecting your base, edges, bindings, and boots, you can identify and resolve problems early.
Why is checking your snowboard so important for safe lessons?
A thorough snowboard inspection prevents dangerous situations during your snowboard lesson and ensures optimal learning results. Poorly maintained equipment can lead to unexpected falls, reduced control, and frustration during the learning process.
The safety risks of neglected snowboards are significant. Damaged edges can suddenly slip during turns, resulting in loss of control on steep slopes. Loose bindings pose a direct danger because your foot can unexpectedly come loose, especially at higher speeds or during jumps.
The learning process is seriously hindered by equipment problems. When your snowboard doesn’t function optimally, you spend more energy compensating for technical defects than learning new techniques. Professional instructors always check equipment before the lesson begins because they know that well-maintained gear forms the foundation for successful snowboard lessons.
A dry base causes poor gliding properties, making beginners incorrectly think they’re making technical errors. This leads to incorrect movement patterns that are difficult to correct later.
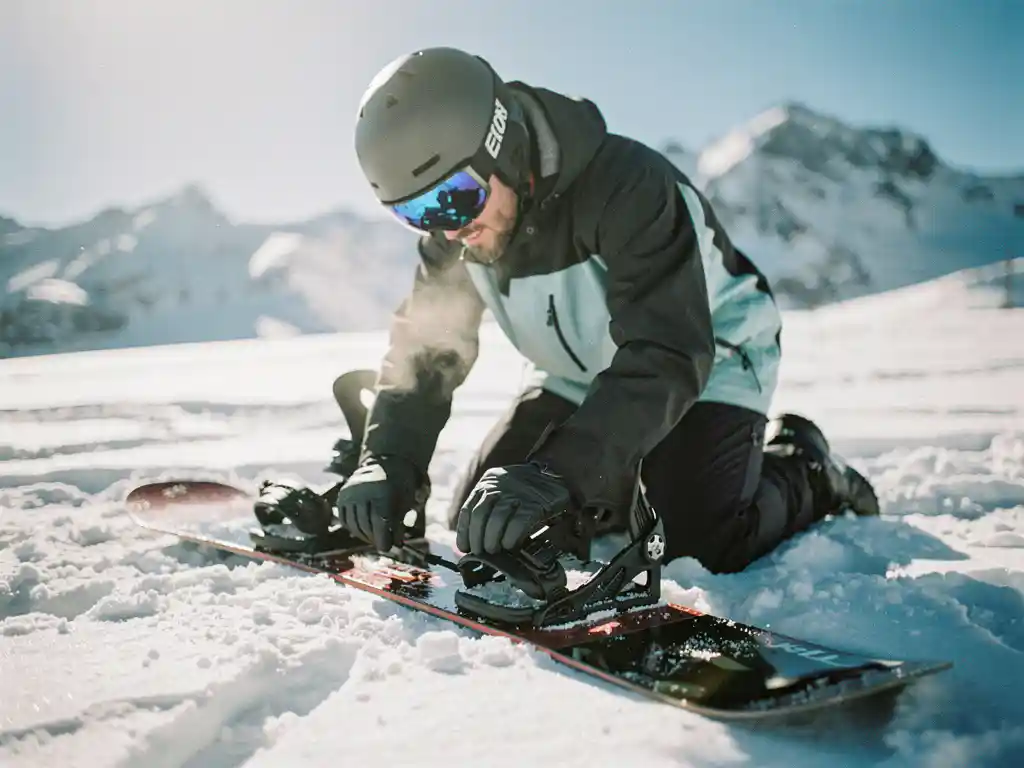
Which parts of your snowboard should you always check?
A complete snowboard inspection includes five crucial components: the base, edges, bindings, boots, and all screw connections. This systematic check takes only a few minutes but prevents hours of frustration on the slopes.
Start with the base inspection by looking at the bottom of your board. Look for deep scratches, burn marks from lifts, or dry spots that appear white or gray. Carefully feel with your hand for rough spots that cause resistance.
Check the edges by running your finger along the metal edges. Watch for burrs, dents, or loose pieces of metal. The edges should feel sharp but have no rough irregularities that could damage your gloves.
Test your bindings by moving all buckles, straps, and adjustment mechanisms. Check that the baseplate is firmly attached and shows no cracks. Tighten all visible screws and listen for creaking sounds that indicate wear.
Inspect your boots for damaged closure systems, worn soles, and loose parts. The flex of your boots should feel consistent, without soft spots that indicate broken support.
How do you recognize when your snowboard needs maintenance?
Concrete signs that require professional maintenance are visible damage to the edges, a white or gray base, loose bindings, and irregular wear patterns. Learn to distinguish between problems you can solve yourself and situations that require expert repair.
Damaged edges can be recognized by deep dents, missing pieces of metal, or edges that feel dull. You can file away small burrs yourself, but major damage requires professional repair with specialized tools.
A dry base shows as white or grayish spots on the black surface. This happens when the base becomes porous due to lack of wax. You can do regular waxing yourself, but serious dehydration requires machine treatment.
Loose bindings reveal themselves through wobbling, creaking sounds, or visible movement of the baseplate. Check this by firmly shaking your bindings while your board is on the ground. You can tighten loose screws yourself, but damaged inserts require professional repair.
Irregular wear patterns on the base indicate alignment problems or incorrect riding style. These patterns look like diagonal stripes or asymmetric wear spots that can only be corrected with professional base repair.
What are the most common snowboard problems that can disrupt lessons?
Binding problems, incorrect boot fit, and damaged edges dominate the list of equipment issues that negatively affect snowboard lessons. These problems lead to reduced control, uncomfortable riding, and a frustrated learning experience during your snowboard lesson.
Binding issues manifest as loose straps that shift during riding, defective buckles that suddenly open, or incorrectly adjusted forward lean. Beginners often interpret these problems as their own failure, while they are purely technical defects.
Incorrect boot fit causes painful pressure points, cold feet due to poor circulation, or loss of control due to too loose a fit. Boots that are too large lead to blisters and instability, while boots that are too small cause nerve pain and cramps.
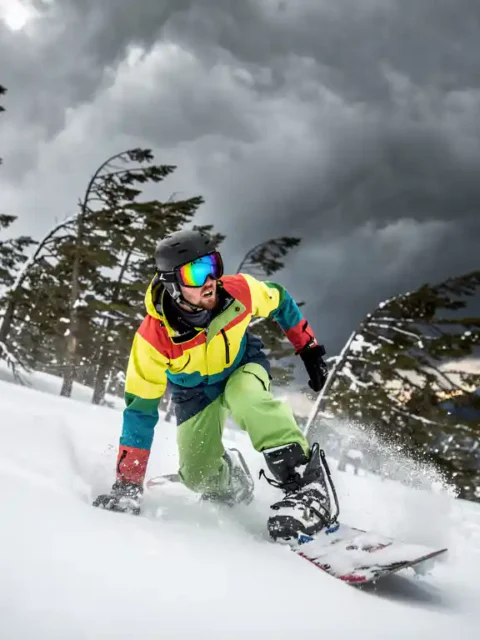
Damaged edges result in unpredictable behavior during turns. Your board can suddenly slip or grip too aggressively, making learning carved turns virtually impossible. Advanced snowboarders notice this faster than beginners.
Base problems, such as deep scratches or extreme dryness, cause uneven speed and unpredictable gliding. This particularly affects learning timing and balance because feedback from your board becomes inconsistent.
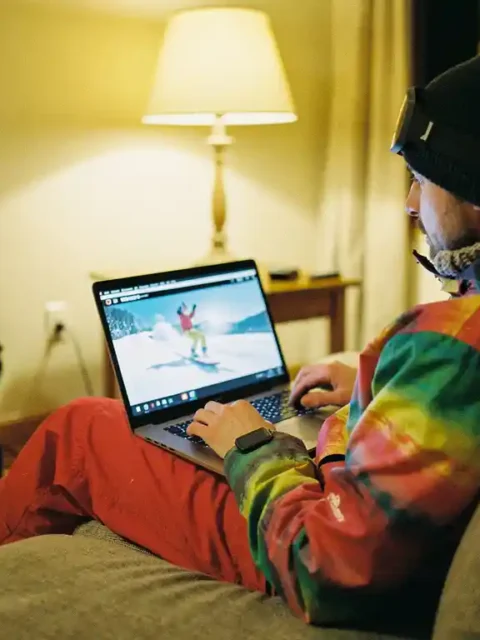
How do you optimally prepare your snowboard for Ski-Pro lessons?
For snowboard lessons that you book through the Ski-Pro platform, perform a complete equipment check, ensure proper maintenance, and create a checklist of essential items. Our certified instructors help with final equipment assessment and make adjustments during your lesson if necessary.
Begin your preparation one day before your Ski-Pro lesson with a systematic inspection of all your equipment. Check that your bindings are correctly adjusted for your riding style and level. Beginners benefit from a more backward-facing stance, while advanced riders experiment with different angles.
Ensure your snowboard has been recently waxed for optimal gliding during your lesson. A well-prepared base helps your instructor assess your actual technique without interference from equipment problems. At Ski-Pro, we work with over 350 certified ski schools that understand the importance of well-maintained equipment.
Bring spare parts, such as extra binding straps, a small screwdriver, and basic wax for emergency repairs. Your Ski-Pro instructor can make minor adjustments on the spot, but serious problems require a visit to a local shop.
Our instructors always perform a safety check before the lesson begins. They check binding adjustment, boot fit, and the general condition of the equipment. This is part of our quality guarantee and ensures your lesson runs optimally without equipment-related interruptions.
By thoroughly checking your snowboard before each lesson, you invest in safety, learning results, and enjoyment on the slopes. Well-maintained equipment forms the foundation for successful snowboard lessons, whether you’re a beginner or want to refine your technique. With proper preparation, you get the maximum out of every minute of lesson time and safely build your skills.
Frequently Asked Questions
How often should I wax my snowboard for optimal performance during lessons?
For regular snowboard lessons, it's recommended to wax your board every 5-7 riding days, depending on snow conditions. In dry or artificial snow, your board can dry out faster and need more frequent maintenance. A good indication is when the base starts to turn white or gray - then it's time for a wax treatment.
What should I do if my bindings start creaking or wobbling during the lesson?
Stop snowboarding immediately and check all screw connections on your bindings. Carefully tighten loose screws with a multitool, but don't force them if they won't budge. Inform your instructor about the problem - they can assess whether it's safe to continue or if you need to visit a repair shop.
Can I repair small scratches in my snowboard base myself or should this be done professionally?
Superficial scratches that you can't feel with your fingernail can often be repaired yourself with repair wax or a P-tex candle. Deep scratches that go into the core, or scratches wider than 2mm, require professional repair to prevent structural damage. When in doubt, it's always better to consult an expert.
How do I know if my snowboard boots still fit properly after a period of non-use?
Test your boots at home by wearing them for 15-20 minutes with your snowboard socks. Your feet shouldn't tingle, hurt, or get cold. Check if your toes touch the front and if your heel doesn't shift up. Boots can shrink or stretch after long storage, so a new fitting may be necessary.