What Are the Most Important Ski Tips for Beginners?
Your first time on skis is approaching and you’re not quite sure what to expect? Don’t worry! Skiing is a fantastic winter sport that anyone can learn, regardless of your age or fitness level. With the right preparation and a few handy tips, you’ll make a flying start on the slopes. In this article, we share practical advice to help you master the basic techniques quickly and safely. From choosing the right equipment to making your first turns – we’ve put everything together for you. With these beginner tips, you’ll ensure that your first skiing experience is not only safe but also incredibly fun!
The Right Ski Equipment for Beginners
Before hitting the slopes, it’s important to have the right equipment. As a beginner, you don’t need to purchase everything right away – renting is a great option for your first days of skiing.
Skis and Bindings
As a beginning skier, shorter skis are your best friend. They’re easier to control and make the learning process much simpler. Look for skis that come up to about your chin. Width is also important: choose skis with a medium-wide waist. These provide more stability without being too difficult to maneuver.
The bindings must be properly adjusted to your weight and skiing abilities. This is crucial for your safety – in a fall, your skis need to release to prevent injuries. A good ski rental shop will adjust this for you, but feel free to ask about it if you’re unsure.
Ski Boots
Comfortable ski boots make the difference between an enjoyable or painful day on the slopes. Ski boots should fit snugly but not pinch. Your toes should just be able to touch the front when you’re standing upright, and have a little room when you bend your knees (your skiing position).
Always wear only one pair of socks in your ski boots – preferably special ski socks that wick away moisture effectively. Multiple layers actually cause cold feet and blisters.
Protective Clothing
When choosing your ski clothing, functionality takes priority over style (though you can have both!). You’ll need:
- Water-resistant ski pants and jacket
- Thermal underwear and fleece as a middle layer
- Waterproof gloves or mittens
- A hat or helmet (a helmet is strongly recommended, especially for beginners)
- A scarf or neck warmer
- Ski goggles that protect against sun, wind, and snow
Layers are the secret of warm skiers! You can easily remove something if you get warm while skiing.
Basic Posture on Skis
Good posture is the foundation of successful skiing. Once you’ve got the right position down, the rest will follow naturally.
The Correct Body Position
The ideal skiing posture might feel a bit unnatural at first but will quickly become familiar. Here’s how your body should be positioned:
- Feet shoulder-width apart
- Knees slightly bent (as if sitting on a bar stool)
- Weight in the middle of your skis, not on your heels or toes
- Arms forward, as if holding a tray
- Back straight, but not stiff
- Head up, looking where you want to go (not at your feet!)
It’s normal for your legs to get tired from this position during the first few days. You’re using muscles that you’re not accustomed to using. After a few days, this gets much better!
Weight Distribution
How you distribute your weight determines where your skis go. For beginners, the most important tip is: keep your weight in the middle of your skis. If you lean backward, you lose control. If you lean too far forward, your skis will go too fast.
To glide straight downhill, distribute your weight equally on both skis. For turns, shift your weight slightly more to the outside ski. You’ll learn this quickly during your first ski lesson.
The Correct Arm Position
Your arms help with balance and direct your movements. Keep them bent and in front of your body, as if carrying a large tray. Try not to swing wildly or hold your poles up – this disrupts your balance.
In the beginning, you’ll use your ski poles mainly as support when starting and stopping. Later, they’ll help you make turns.
From Braking to Turn Technique
Now that you know how to stand on your skis, it’s time to learn how to move! We’ll start with the most important technique for beginners: braking.
The Snowplow Brake
The snowplow (also called ‘pizza slice’ or ‘triangle’) is the first and most important technique you’ll learn. Here’s how to do it:
- Start in the basic position, skis parallel to each other
- Push the back ends of your skis apart (heels outward, tips together)
- The wider the back ends, the stronger your brake
- Press lightly on the inside edges of your skis (slight edge pressure)
- Keep your weight evenly distributed across both skis
The snowplow isn’t just for stopping – it’s also your speed control during your first descents. The wider your snowplow, the slower you go.
The First Turns: Snowplow Turns
Once you’re comfortable with the snowplow brake, you can start making turns. You do this by shifting weight in your snowplow position:
- Begin in a comfortable snowplow
- For a right turn: shift your weight to the left ski
- For a left turn: shift your weight to the right ski
- Always look in the direction you want to go
- Your shoulders will naturally follow the direction of your eyes
The secret to good turns is patience and smooth movements. Don’t try to force it, but let the skis do the work through subtle weight shifts.
Progressing to Parallel Skiing
After a few days of practicing snowplow turns, you’ll notice that you’re becoming increasingly comfortable. Now you can gradually work toward parallel skiing, where your skis remain side by side throughout the entire descent.
The transition from snowplow to parallel happens gradually: start by bringing your skis parallel at the end of each turn, before beginning the next turn. With more practice, your turns will become increasingly fluid.
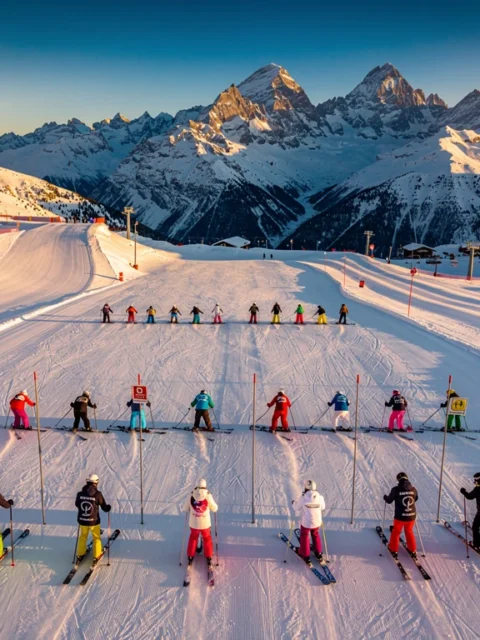
Safe Behavior on the Slopes
Just like in traffic, there are rules on the ski slopes that ensure everyone can enjoy safely. These rules are internationally recognized as the FIS rules.
The Most Important Slope Rules
- Respect for others: adjust your speed and skiing style to your own ability AND to how busy it is
- Overtaking from behind: maintain sufficient distance when passing others
- Right of way: the person in front of you has the right of way, you must yield
- Stopping: only do this at the side of the slope, never in the middle
- Climbing: if you need to walk uphill, do this at the edge of the slope
- Falling: try to clear the slope as quickly as possible after a fall
- Help: it’s your duty to assist in accidents
Remember that the skier or snowboarder in front of you always has the right of way. You can see them, but they cannot see you. It’s your responsibility to prevent collisions.
Understanding Slope Colors
Ski slopes are marked with colors that indicate the level of difficulty:
- Blue: beginners, gentle slopes
- Red: intermediate, steeper descents
- Black: advanced, steep and challenging slopes
As a beginner, stick to the blue slopes. Even if you make quick progress, it’s important not to move to more difficult slopes too quickly. Build your confidence on blue slopes before attempting a red one.
Signs and Markings
Pay close attention to the signs along the slope. These warn of intersections, narrow passages, or dangerous sections. Orange or yellow nets or mats indicate dangerous spots – keep extra distance here.
Slope numbers or names help you know where you are. Take a slope map with you or download an app that maps the ski areas so you don’t get lost.
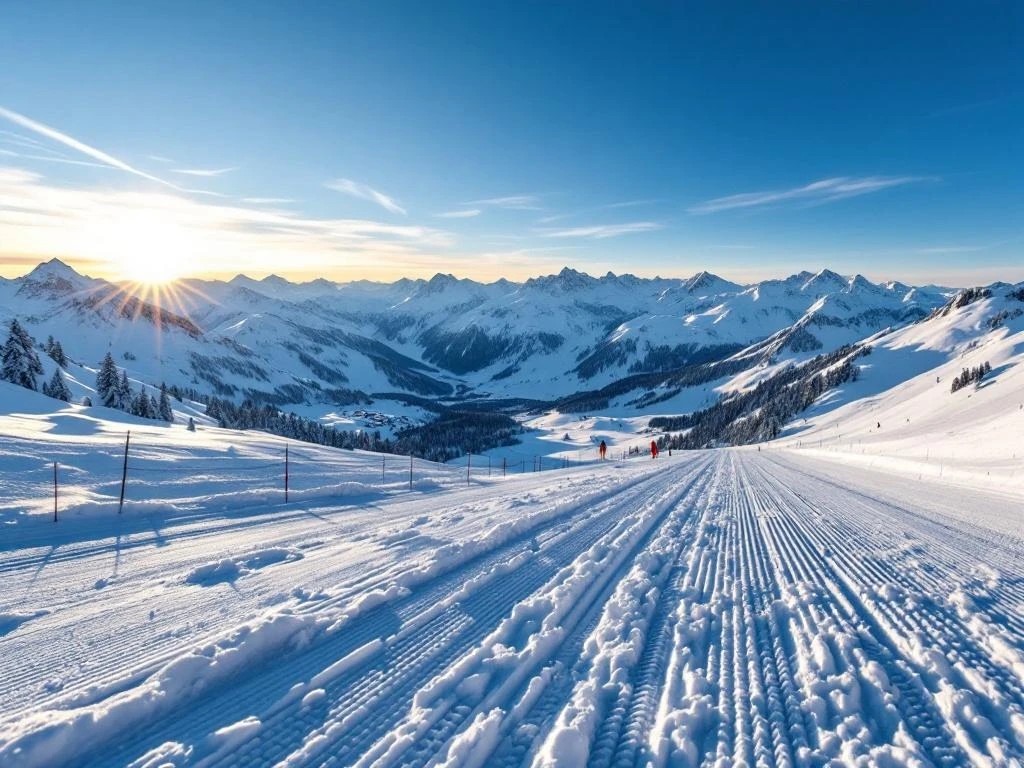
Weather Conditions and Visibility
Mountain weather can change quickly. Always check the weather forecast before heading up the mountain. In poor visibility or strong winds, it’s better to choose lower, sheltered slopes or even skip a day.
Good ski goggles are essential for safe skiing. In cloudy weather or snowfall, a yellow or orange lens provides better contrast, helping you see irregularities on the slope more clearly.
Skiing is a wonderful sport that can bring you much enjoyment. By choosing the right equipment, learning proper technique, and respecting the safety rules, you’ll make your first days of skiing a success. Remember that everyone learns at their own pace – don’t compare yourself to others, but enjoy your own progress.
If you want to learn the basic techniques quickly and effectively, good ski instruction is invaluable. At Ski-Pro, we’re happy to help you find the right ski school or ski instructor that fits your wishes and level. Whether you choose private lessons or group lessons, a professional instructor makes the difference between days of struggling or quickly having fun on the slopes.
Frequently Asked Questions
How long does it typically take before I can move from blue slopes to red slopes?
This varies by person, but most beginners can ski well on blue slopes after 3-5 days and are then ready to carefully try red slopes. The most important thing is that you feel confident making turns and controlling your speed. Wait until you can effortlessly brake and change direction before moving to steeper slopes. A good rule of thumb: if you can comfortably parallel ski on the steepest section of a blue slope, you're probably ready for an easy red slope.
What are the most common mistakes beginners make during their first days of skiing?
The biggest beginner mistake is leaning backward out of fear of the slope, which actually gives you less control. Other common mistakes include: looking at your feet instead of ahead, standing too stiffly with straight legs, wanting to go too fast without mastering the basic techniques, and wearing inappropriate clothing that makes you too hot or too cold. Also try not to force your turns, but let subtle weight shifts do the work. Finally: don't underestimate how tiring skiing can be – plan plenty of rest breaks.
How do I physically prepare for my first ski vacation?
Ideally, begin 6-8 weeks before your vacation with targeted exercises for leg muscles, core stability, and endurance. Squats, lunges, and walking on an incline strengthen your quadriceps and hamstrings. Plank exercises improve your core stability, essential for balance. Cardio training such as cycling or stair climbing improves your endurance. Also important: stretch regularly to prevent injuries. Better fitness not only ensures more enjoyment on the slopes but also significantly reduces the chance of injuries.
What should I do if I fall on the slope and have trouble getting back up?
First position your body across the slope and bring your skis parallel to each other and perpendicular to the slope (not pointing downhill). Place your ski poles on the uphill side next to you, push yourself up with both hands while pressing on the inside edges of your skis for grip. If this doesn't work, remove one ski first, stand up, and then reattach your ski. Don't be embarrassed to ask passing skiers for help if needed. Always try to clear the slope as quickly as possible to prevent collisions.
How can I ski on a limited budget? Is it possible to save money on equipment and lessons?
Skiing on a limited budget is definitely possible! Rent equipment instead of buying, and preferably do this online in advance or in the valley rather than right at the slopes. Choose group lessons instead of private lessons – you'll still learn the basics and it's much cheaper. Consider going outside the peak season, prices can be up to 40% lower. Bring your own lunch and snacks to avoid expensive mountain restaurants. For clothing: look at second-hand options or functional outdoor clothing you already own. Ski resorts often offer package deals with discounts on lift passes, rentals, and lessons together.
How do I deal with fear on steeper sections as a beginner?
Fear on steep sections is normal for beginners. Divide the steep section into smaller, manageable parts by zigzagging down with short turns. Take your time and stop if necessary at the side of the slope. Focus on your technique: slightly bent knees, weight forward, and remember to keep breathing. It helps to focus your gaze further ahead instead of directly in front of your skis. If a section feels too steep, there's no shame in clicking out of your skis and walking a bit – your safety comes first. With each successful descent, your confidence will grow.
When is it advisable to purchase your own ski equipment instead of renting?
Consider purchasing your own equipment when you ski at least 1-2 weeks per year and already have several seasons of experience. Start by buying your own ski boots – these are the most important for comfort and performance. Only buy skis once you know your own style and what type of ski suits you. Purchase becomes financially interesting from about 7-10 ski days per year, depending on local rental prices. Be aware of extra costs such as maintenance and transport. For children who are still growing, renting usually remains more sensible. Consider second-hand equipment or end-of-season sales for the best deals.