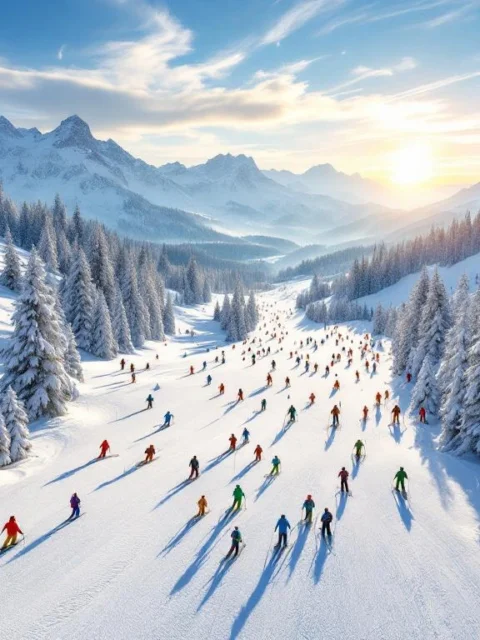
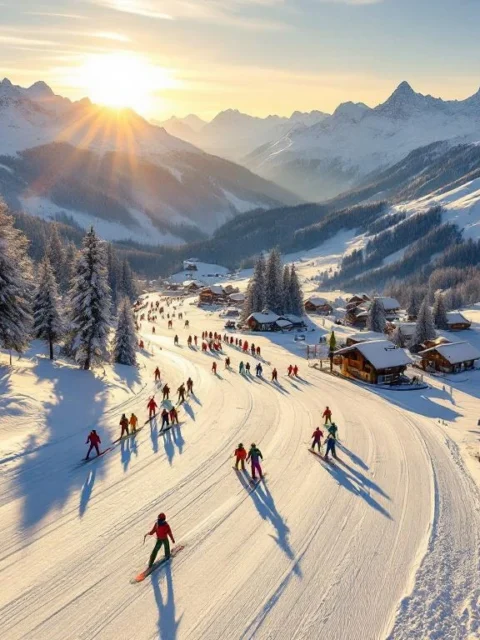
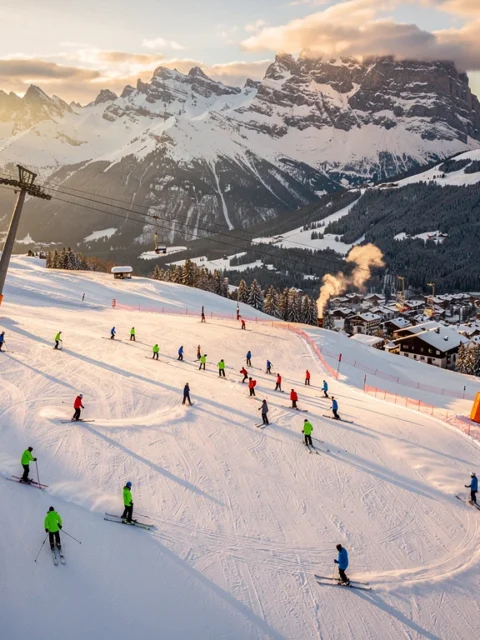
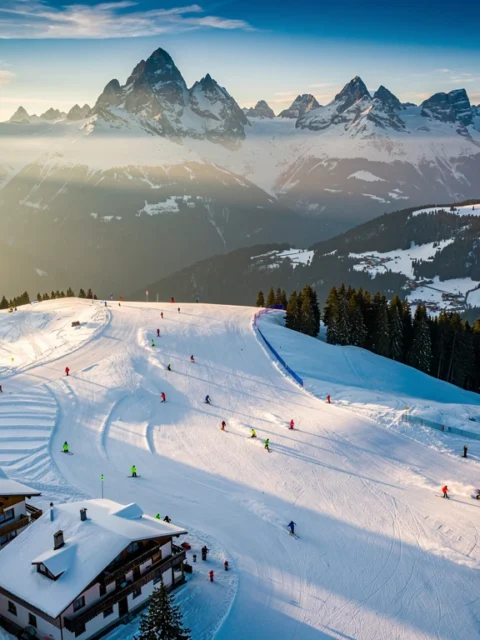
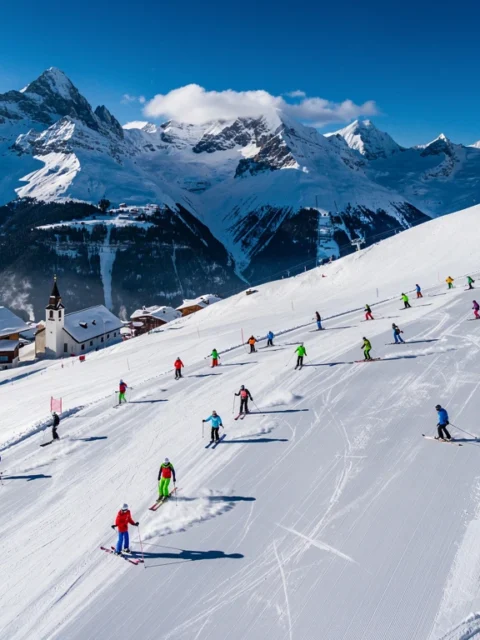
What are the first steps to learn how to ski?
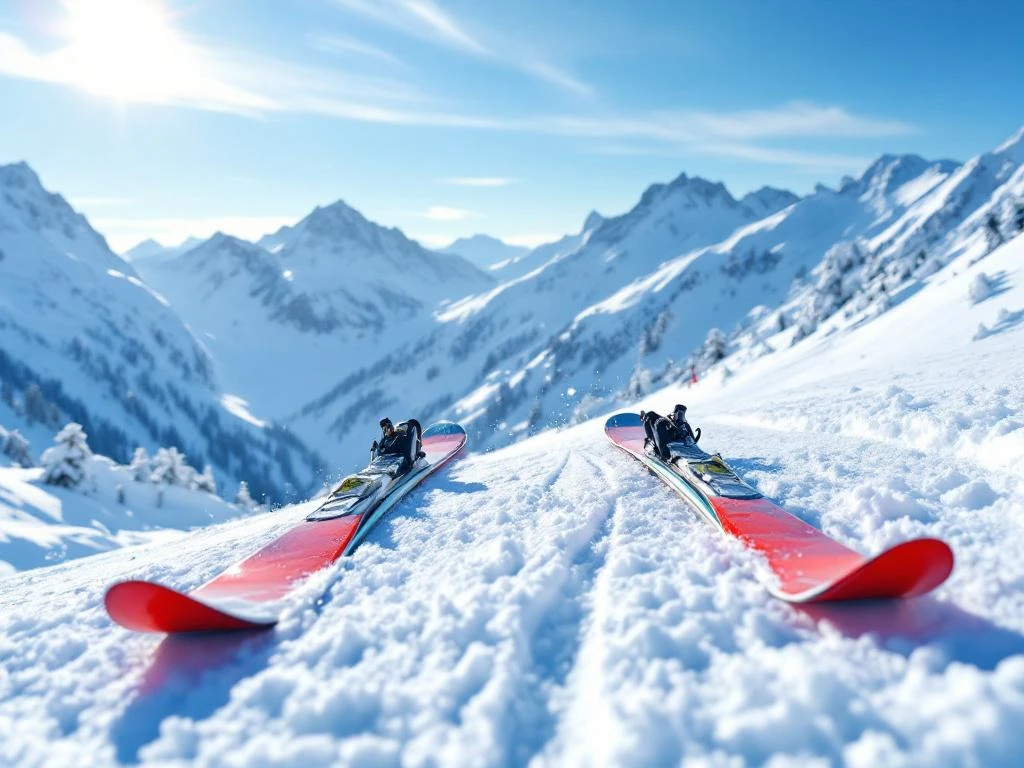
The first descent on a ski slope – for some an exciting challenge, for others a nerve-wracking experience. But you know what? Everyone who now gracefully glides down the mountains once stood in your shoes! Learning to ski is a fantastic journey that you can build up step by step. In this article, we’ll guide you through the very first steps of skiing: from the right equipment to your first real descent. With proper preparation and perhaps some professional guidance, you’ll soon be standing confidently on your skis!
The Right Ski Equipment for Beginners
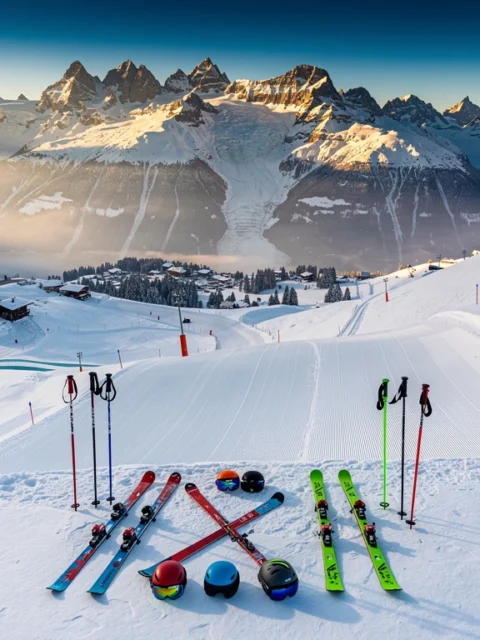
Before heading up the mountain, it’s important to have the right gear. Good equipment makes the learning process much easier and more enjoyable!
Ski Boots: The Foundation of Everything
The right ski boots are perhaps the most important part of your equipment. They should fit firmly but not painfully pinch. Boots that are too loose provide little control over your skis, while boots that are too tight can become very painful. As a beginner skier, it’s smart to rent boots from a professional rental service that will help you with the right size and fit.
Remember: your toes should lightly touch the front when standing upright, and your heel should be firmly secured without being able to move.
Skis for Beginners
As a beginning skier, you need shorter and more maneuverable skis. These are:
- Easier to control
- Ideal for learning how to make turns
- More forgiving when making mistakes
The length of your skis depends on your height, weight, and level. As a rule of thumb, beginning skiers should choose skis that come up to about their chin or shoulders. The skis should also have a soft flex, which means they bend and turn more easily.
Protective Clothing
Even if you don’t fall hard, as a beginner you’ll probably end up in the snow regularly. Therefore, good protective clothing is not a luxury:
- A ski helmet (nowadays standard on the slopes)
- Waterproof gloves or mittens
- A waterproof jacket and pants
- Multiple thin layers of clothing (better than one thick sweater)
- Ski goggles to protect against bright sun and snow
A good tip: many beginning skiers rent ski equipment through a reliable rental service for their first few lessons. This allows you to try different materials before deciding to invest in your own gear.
Basic Posture and Balance on Skis
Now that you have the right equipment, it’s time to learn how to stand on your skis. A good basic posture is the foundation of everything you’ll learn later.
The Ideal Ski Posture
A good ski posture looks like this:
- Feet shoulder-width apart
- Knees slightly bent
- Upper body slightly forward
- Arms relaxed in front of you
- Eyes looking ahead (not at your feet!)
It might feel somewhat unnatural at first, but this posture gives you the most control over your movements. Compare it to cycling – once you’ve mastered the technique, you don’t think about it anymore.
First Exercises on Flat Terrain
Before going down a slope, it’s smart to practice on flat terrain. Try these basic movements:
- Standing and feeling: Simply stand upright on your skis to get used to the feeling.
- Sideways stepping: Move sideways by lifting your skis, a good exercise for balance.
- Scissor stance: Move your ski tips apart and bring them back together (making and closing a V-shape).
- Weight shifting: Practice transferring your weight from one leg to the other.
These exercises help you get used to the feeling of skis under your feet. They may seem simple, but they teach you how to maintain your balance – which is really important when you eventually go down a slope.
Braking and Falling: Safety First
Let’s be honest: as a beginner skier, you’re going to fall. That’s part of it! But with the right techniques, you can brake and fall safely without getting injured.
The Snowplow: Your First Way to Stop
The snowplow (also called pizza slice or wedge) is the basic braking technique for beginning skiers. Here’s how to do it:
- Push the backs of your skis apart, so your skis form a V-shape (like a pizza slice)
- Keep the tips of your skis close together
- Push your knees slightly inward
- The wider the V-shape, the faster you brake
Practice this technique first on a very gentle slope, so you can feel how you can control your speed with the width of your “pizza.” This will be your best friend during your first days on the slopes!
Falling Safely and Getting Up
If you feel like you’re going to fall, try these tips:
- If possible, fall to the side or uphill (toward the mountain)
- Try not to fall on your hands to prevent wrist injuries
- Keep your arms close to your body
- Relax your body as much as possible
To get up after a fall:
- Position your skis across the slope (horizontally)
- Push yourself up with your hands
- Support yourself on your knees
- Slowly stand up
Don’t be discouraged by falling – even professional skiers fall regularly. It’s part of the learning process and with good guidance from a ski instructor you’ll quickly learn how to fall safely and get back up.
From Practice Slope to First Real Descent
After some practice on flat areas and gentle slopes, the moment comes when you’re ready for your first real descent. An exciting step!
When Are You Ready?
You’re probably ready for a real (blue) slope when:
- You can easily brake with the snowplow
- You can change direction
- You’re comfortable with your speed
- You feel confident on the practice slope
Remember: there’s no rush! Some people need a few hours to feel ready, others a few days. The most important thing is that you feel safe before moving to a steeper slope.
Your First Real Descent: Step by Step
When you decide you’re ready for a real slope, follow this approach:
- Choose a quiet blue run (these have the most gradual slope)
- If possible, go at a quiet time when the slope isn’t too busy
- Make a plan: divide the descent into small sections
- Start with snowplow turns (always braking in the turn)
- Take breaks when you get tired – fatigue leads to mistakes
A good technique for your first real descent is “traversing” – skiing diagonally across the slope instead of straight down. This helps to control your speed and gives you time to get used to the feeling.
When Is Professional Ski Instruction Worth Considering?
Although friends or family can teach you the basics, there are many advantages to taking professional ski lessons, especially as a beginner.
Benefits of Lessons with a Real Ski Instructor
A qualified ski instructor offers:
- Personal feedback on your specific technique
- Step-by-step progression that matches your learning pace
- Knowledge of the most effective and safe learning methods
- Tips that work specifically for your body type and style
- More confidence because you know you’re doing it right
Moreover, instructors know the slopes well and know which spots are most suitable for beginners. They can also help you prevent bad habits that are difficult to unlearn later.
Group Lessons or Private Lessons?
If you’re undecided between group lessons or private lessons:
- Group lessons are more affordable and offer social contact with other beginners
- Private lessons give completely personal attention and faster progress
For many beginners, a combination is ideal: start with a few group lessons and then take one or two private lessons to improve specific points.
The cost of ski lessons varies by ski resort and season. They are influenced by factors such as the duration of the lesson, the type of lesson (group or private), and the level of the instructor. Through an online comparison platform, you can easily view different options and make the best choice that fits your budget and preferences.
Conclusion
The first steps in skiing are exciting and sometimes challenging, but with the right equipment, basic knowledge, and perhaps some professional help, you can make enormous progress in a short time. Remember that everyone learns at their own pace – be patient with yourself and enjoy the process!
Are you about to start skiing and want more confidence by taking lessons? At Ski-Pro, we’re happy to help you find the perfect ski lesson that matches your level and preferences. Through our extensive network of more than 250 ski schools and instructors in the Alps, you can easily compare and book different options – all in one place. This saves you time in your search and allows you to fully concentrate on what really counts: having fun in the snow!
Frequently Asked Questions
How do I prepare my body for my first ski vacation?
Start targeted fitness training at least 6-8 weeks before your vacation. Focus on leg muscles (squats and lunges), core stability, and endurance. Short, intense cardio workouts help prepare you for the physical demands of skiing. Don't forget to stretch to improve your flexibility, which can help prevent injuries and enhance your agility on skis.
What should I do if I experience anxiety or panic attacks while skiing?
Anxiety is normal for beginning skiers. Stop at a safe spot on the side of the slope and take a few deep breaths. Remind yourself that you can always brake using the snowplow (pizza shape). Break difficult descents into smaller, manageable sections and take breaks. Consider returning to an easier slope or take a private lesson to build your confidence with professional guidance.
How can I prevent muscle soreness after a day of skiing, especially as a beginner?
Ensure a good warm-up before you start skiing, preferably by doing some light stretches. Drink plenty of water throughout the day to prevent dehydration. Take regular breaks and don't overexert yourself on the first day. After skiing, a warm bath or sauna visit helps relax muscles. Light movement such as walking the next morning can also help reduce stiffness.
What exercises can I do at home to improve my turning technique?
At home, you can 'dry train' by simulating the movement of turns. Stand with your feet shoulder-width apart and practice weight transfer from one leg to the other while bending your knees. A balance board is excellent for improving your sense of balance. For kinesthetic awareness, you can also practice ski squats at home by mimicking the movement of the snowplow turn by pressing your knees inward.
How do I know if I'm ready for more difficult slopes after my first lessons?
You're ready for a more challenging slope when you can consistently and comfortably brake, make turns without falling, and no longer ski continuously in the snowplow position. You should also have confidence in various snow conditions at your current level. A good indicator is boredom - if your current slope feels too predictable, it's time for a new challenge. Discuss your progress with a ski instructor for a professional assessment.
What are the most common mistakes beginners make and how can I avoid them?
Many beginners lean too far backward (which reduces control), look at their feet instead of ahead, don't keep their arms in the right position, or choose slopes that are too steep too early. Avoid these mistakes by consciously staying upright with bent knees, always looking ahead to where you want to go, keeping your arms relaxed in front of you, and being patient with your progression. One or two professional lessons can correct these errors early before they become bad habits.
How can I best guide my children in learning to ski?
Start with a professional instructor for the basic skills - they have specific methodologies for children. Make it fun with games and reward progress, not just achievements. Keep sessions short (1-2 hours) with sufficient breaks to prevent fatigue. Use visual aids such as 'pizza slice' for braking and 'french fries' for parallel skiing. Most important is patience; never force children onto steeper slopes if they're not ready, as fear can cause long-term resistance to the sport.


