How do you brake on a snowboard?
Braking on a snowboard is an essential skill that every snowboarder must master to snowboard safely and enjoyably. You can brake by positioning your board perpendicular to the slope (heel-edge) or by making controlled turns. Proper body posture and weight distribution are crucial for effective braking.
What is the correct posture for braking on a snowboard?
The correct posture for braking starts with a relaxed but controlled body position. Your knees are slightly bent, your back is straight, and your weight is evenly distributed over both feet. Your arms help maintain balance and your gaze is directed toward where you want to go.
For effective braking, the position of your ankles is of great importance. Keep your ankles flexible and avoid stiff legs. Your upper body remains calm above the board while your lower legs do the work. A common mistake is leaning backward; this causes loss of control.
Weight distribution varies depending on the braking technique. With heel-edge braking, more weight is placed on your heels, while with toe-edge braking, your weight shifts forward. Practice these positions on flat sections before applying them on steep slopes.
How do you execute the heel-edge technique for beginners?
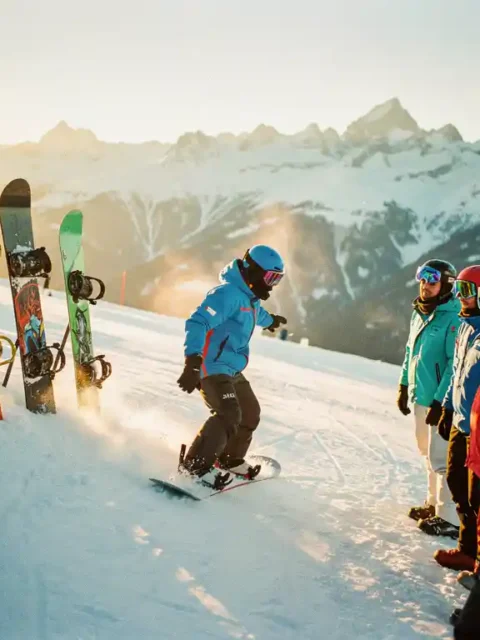
The heel-edge technique is the most basic braking technique where you position the snowboard perpendicular to the slope and lean on your heels. Start on a gentle slope and slowly shift your weight to your heels until the board begins to brake.
Follow these steps for correct execution:
- Position your snowboard perpendicular to the slope.
- Shift your weight to your heels.
- Lift your toes slightly in your boots.
- Keep your knees bent for stability.
- Use your arms for balance.
It’s important to build up this technique gradually. Start with small weight shifts and increase them as you gain more confidence. The heel-edge technique works best on slopes that aren’t too steep.
What is the difference between toe-edge and heel-edge braking?
Heel-edge braking uses the back of your board and is easier for beginners because you tend to lean backward. Toe-edge braking uses the front of your board and requires more balance because you lean forward, toward the slope.
The advantages and disadvantages of both techniques:
Heel-edge advantages: More natural feeling, better view of the slope, easier for beginners. Disadvantages: Less control at high speeds, more difficult transitions.
Toe-edge advantages: More control and precision, better transitions to carving. Disadvantages: Intimidating for beginners, less view of the slope.
Experienced snowboarders constantly switch between both techniques, depending on the situation, speed, and terrain. Mastering both methods is essential for advanced snowboarding.
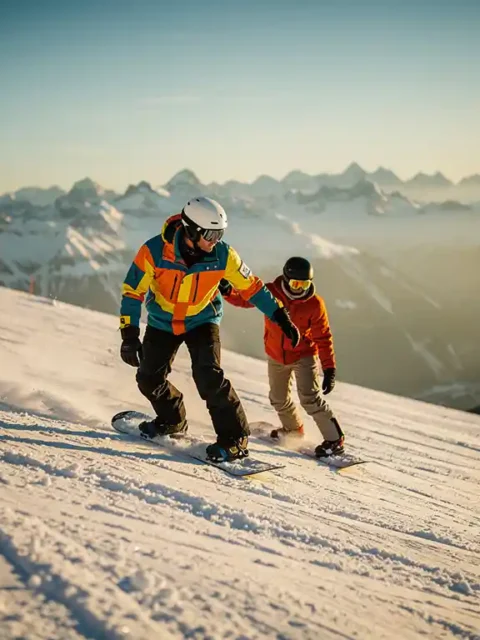
How do you learn to brake in a controlled manner while carving?
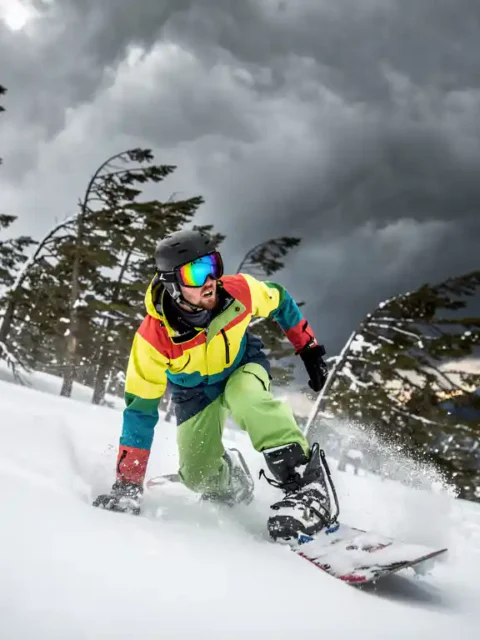
Controlled braking while carving is done by extending the turn and increasing the edge angle of your board. Instead of short, sharp turns, you make longer, wider turns that naturally reduce your speed through friction with the snow.
Advanced braking techniques during carving:
- Increase the radius of your turns.
- Increase the edge angle of your board.
- Use your entire body for the movement.
- Make smooth transitions between turns.
- Adjust your speed before entering the turn.
The key lies in anticipating your speed and the terrain. Start your braking action early enough and build it up gradually. This requires a lot of practice to get the timing and dosage right.
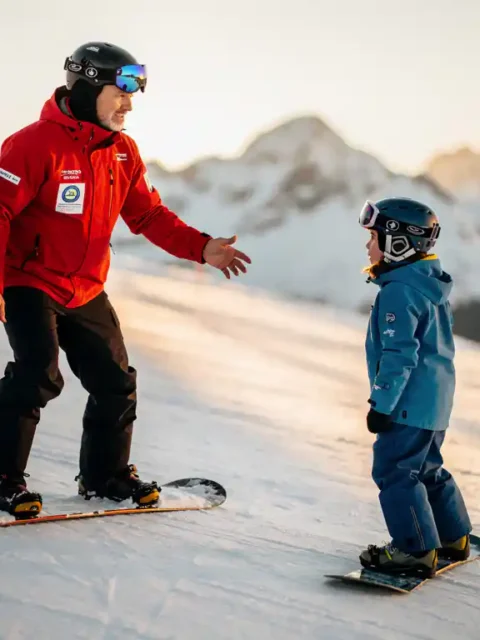
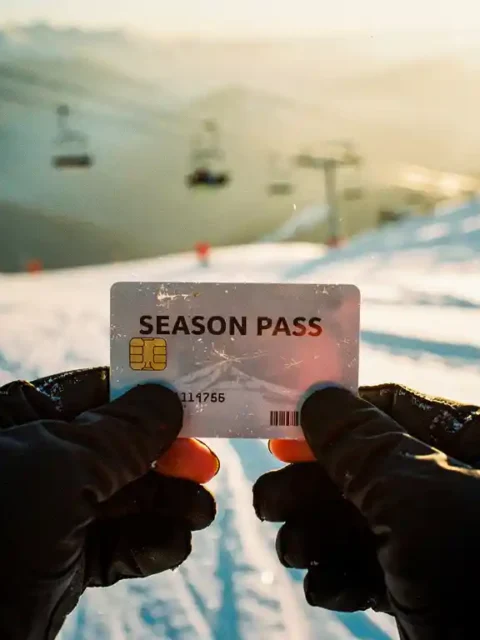
Why Ski-Pro is the best place to book snowboard lessons?
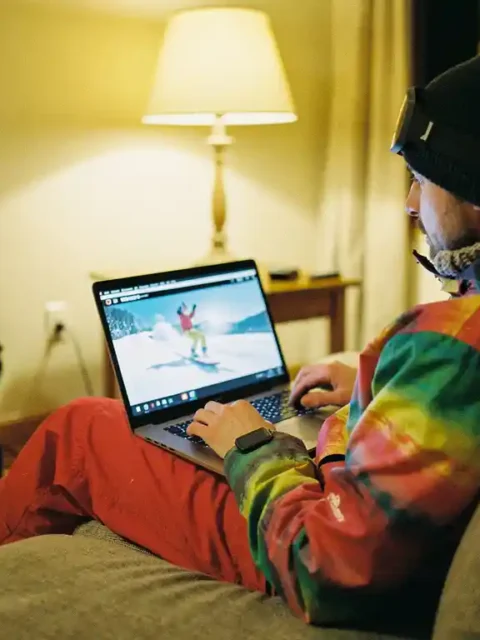
Professional snowboard lessons through Ski-Pro snowboard lesson booking provides access to more than 350 certified ski schools in the Alps. You can compare prices, lesson types, and availability on one platform, making finding the perfect instructor to learn braking much easier.
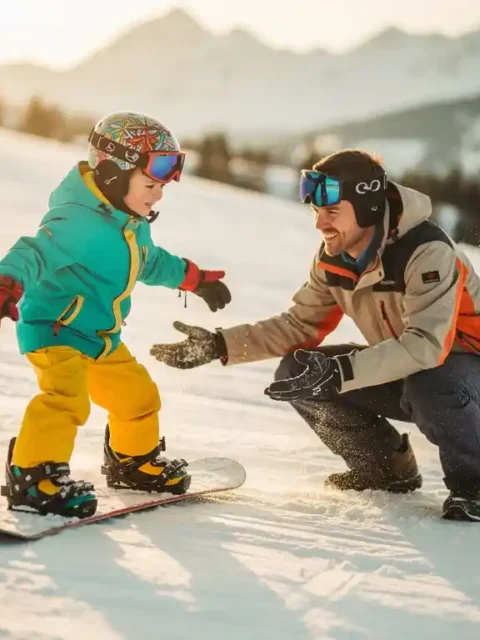
We at Ski-Pro understand that learning to brake safely forms the foundation for enjoyable snowboarding. Our instructors specialize in teaching braking techniques step by step, from the basic heel-edge method to advanced carving techniques.
The advantages of booking snowboard lessons through our platform:
- Comparison of more than 350 ski schools
- Choice between group and private lessons
- Certified instructors with proven experience
- Transparent prices and a quick booking procedure
- Lessons for all levels, from beginner to advanced
Whether you want to take your first snowboard lesson or perfect your braking techniques, we help you find the right instructor that matches your level and learning style.
What common mistakes should you avoid when braking?
The most common mistake when braking is leaning too far backward, which leads to loss of control and possible falling. Other common mistakes are keeping stiff legs, braking too abruptly, and not using your arms for balance.
Technical mistakes you should avoid:
- Leaning backward instead of shifting your weight in a controlled manner
- Stiff knees and ankles during braking
- Braking too suddenly, causing you to lose balance
- Relying only on one side of the board
- Looking at the board instead of ahead
- Panicking when speed increases
For safer snowboarding experiences, it’s important to build up these techniques gradually. Always start on gentle slopes and slowly progress to steeper terrain. Don’t forget that good braking techniques form the foundation for all other snowboarding skills.
Mastering different braking techniques on your snowboard opens the door to more advanced skills and especially to safer snowboarding. By adopting the correct posture, practicing both heel-edge and toe-edge techniques, and avoiding common mistakes, you develop the confidence to tackle any slope. Remember that professional guidance can significantly accelerate the learning process and help you prevent bad habits.
Frequently Asked Questions
How long does it take to master the different braking techniques?
For beginners, it usually takes 2-3 lesson days to reliably execute the heel-edge technique. Toe-edge braking often requires an extra day of practice because it requires more balance. Fully mastering both techniques and being able to switch smoothly between them can take 5-7 lesson days, depending on your natural ability and practice time.
What should you do if you panic and can't brake on a steep slope?
Try to stay calm and immediately position your board perpendicular to the slope in heel-edge position. If necessary, let yourself fall on your backside instead of continuing to gain speed. If you fall, don't roll further down but try to stop immediately by keeping your board perpendicular. Practice this emergency stop technique first on gentle slopes so it becomes an automatic reaction.
Which muscles are most stressed when braking and how can I prepare for this?
Your calves, thigh muscles, and core muscles are most heavily stressed during braking techniques. Especially the heel-edge technique demands a lot from your calves because you constantly balance on your heels. Prepare with calf exercises, squats, and core training. Yoga or pilates also help develop the necessary balance and flexibility for effective braking.
How do you adapt your braking technique to different snow conditions?
On hard, icy snow you need sharper edge setting and smaller weight shifts to maintain grip. In powder snow you can shift more weight and make broader movements. On wet snow, brake best with shorter, more frequent braking movements. Always adjust your speed before entering a new snow type and first test carefully how your board reacts.