How do you read piste maps during snowboard lessons?
Reading trail maps is an essential skill for every snowboarder. A trail map shows all slopes, lifts and important facilities in a ski area, including difficulty levels and safety routes. By correctly interpreting the map, you can navigate safely, choose suitable slopes for your level and enjoy your snowboard lesson without getting lost or ending up in dangerous situations.
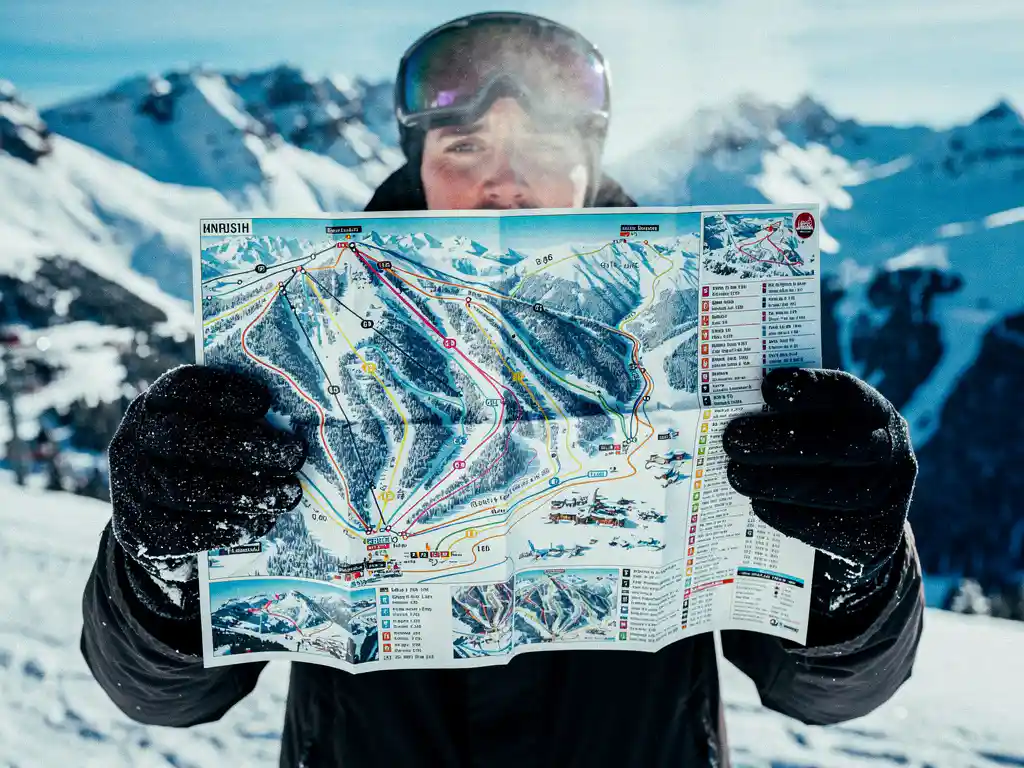
What are trail maps and why are they essential during snowboard lessons?
Trail maps are detailed overview maps of ski areas that show all slopes, lifts, restaurants and important facilities. They function as your guide on the mountain and are indispensable for safe navigation during your snowboard lesson.
These maps contain crucial information about terrain layout and safety zones. They show not only where you can snowboard, but also where you better shouldn’t. During snowboard lessons, instructors use trail maps to plan routes that match their students’ skill level.
For beginners, trail maps are especially important because they help recognize easy slopes and avoid overly difficult routes. Advanced snowboarders use them to find new challenges and locate off-piste areas. The map prevents you from getting lost and helps you find your way back to familiar locations, such as the base station or your favorite restaurant.
How do you recognize the different colors and symbols on a trail map?
Trail maps use a universal color system: green for beginners, blue for intermediate, red for advanced and black for experts. Additionally, symbols show the locations of lifts, restaurants, first aid and other facilities.
The color codes are internationally standardized. Green slopes have a gradient up to 25% and are perfect for your first snowboard lesson. Blue slopes vary from 25% to 40% gradient and offer more challenge for snowboarders who have mastered the basics. Red slopes have gradients between 40% and 55% and require good technique and control.
Black slopes are the most difficult, with gradients above 55% and often additional challenges, such as moguls or narrow passages. Symbols on the map show gondolas (rectangles), chairlifts (lines with circles), restaurants (cutlery icons) and first aid stations (red crosses). Yellow triangles warn of dangerous areas or closed slopes.
What difficulty levels exist and how do you choose the right slope?
Ski areas use four main categories: beginner (green), intermediate (blue), advanced (red) and expert (black). Always choose slopes that are one level below your current ability to stay safe and build confidence.
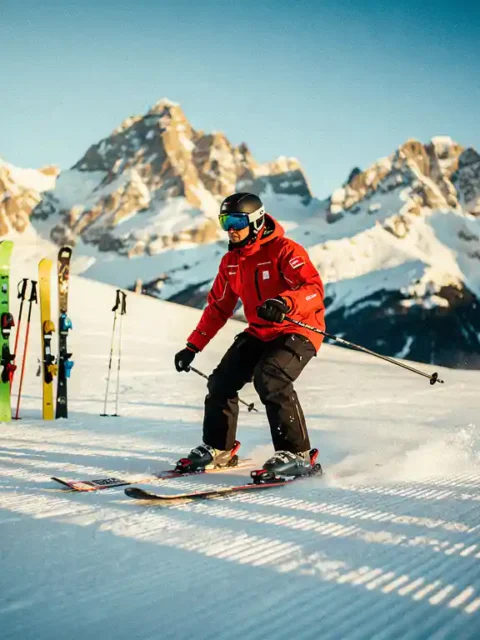
For absolute beginners during their first snowboard lesson, green slopes are ideal. These have wide, well-groomed slopes with plenty of room to practice. If you can stop and make turns without falling, you can try blue slopes.
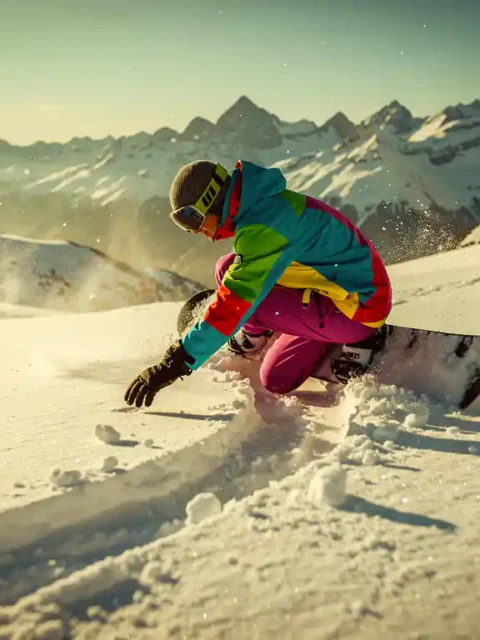
Red slopes are suitable when you master parallel turns and feel comfortable on blue slopes. Black slopes require excellent technique and experience with all snow conditions. Also pay attention to weather conditions: a blue slope can suddenly become much more difficult in icy conditions or poor visibility. During your snowboard lesson, always ask your instructor for advice about suitable slopes for your level.
How do you use a trail map for safe route planning while snowboarding?
Effective route planning begins with identifying starting point, destination and alternative routes. Always plan a safe return route and check if lifts are operational before you depart.
Start each day by studying the trail map and weather conditions. Mark your planned route mentally or physically and identify rest points, such as mountain restaurants. Pay attention to the direction of slopes: some lead to other valleys, making return difficult.
Always check the legend for current information about closed slopes or lifts. Red crosses mean that slopes are closed. Plan your route so that you’re back in familiar areas before dark. Take the map with you while snowboarding and orient yourself regularly. In bad weather or fog, stay on familiar, easy slopes and follow the signs to the base station.
Why Ski-Pro is the best choice for snowboard lessons with professional map reading?
Ski-Pro connects you with certified instructors who teach trail map navigation and safe snowboarding. We compare more than 350 ski schools in the Alps, so you find instructors who emphasize map reading and mountain safety.
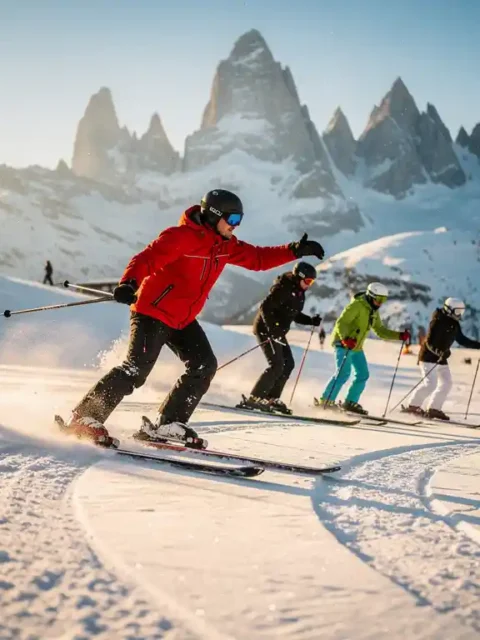
Our instructors teach you not only snowboard techniques, but also how to use trail maps effectively for safe navigation. They share local knowledge about the best routes, hidden gems and areas you should avoid. These practical skills make you an independent and safe snowboarder.
Through our platform, you can easily compare snowboard lessons based on level, group size and specializations, such as mountain navigation. We only work with certified ski schools that meet international safety standards. Whether you’re a complete beginner who wants to learn the basics, or an advanced snowboarder who wants to explore new areas: our instructors ensure that you develop both the technique and navigation skills to confidently explore the mountains.
Mastering trail maps opens a world of possibilities on the mountain. With the right knowledge and guidance, every snowboard lesson becomes a step toward independent and safe snowboarding. By choosing professional instruction through Ski-Pro, you invest in skills that will benefit your entire snowboard career.
Frequently Asked Questions
What should I do if I get lost on the mountain despite using a trail map?
Stop immediately and don't panic. Find a safe spot along the slope and look at your trail map again. Look at the signage around you and search for recognizable landmarks like lift stations or mountain restaurants. Always follow the signs toward the base station and stay on marked slopes. If you're really lost, ask other skiers for help or contact the ski patrol.
How often are trail maps updated and where do I find the most current version?
Trail maps are usually updated annually for the new season, but daily changes like closed slopes or lifts are indicated through the ski area's information system. Always download the official app of the ski area or check the website for real-time updates. Many ski areas also have digital boards at lift stations with current slope conditions.
Can I rely on smartphone apps instead of a physical trail map?
Smartphone apps are handy additions, but always take a physical map as backup. Batteries can drain in the cold and GPS signal can be weak in mountain areas. Apps do offer advantages like real-time tracking and weather info, but a waterproof physical map always works. The best approach is to use both for maximum safety.
What do the dotted lines and other special markings on trail maps mean?
Dotted lines usually indicate ski routes or off-piste areas that are not groomed but are allowed for experienced skiers. Thick black lines often show hiking trails or cross-country ski tracks. Yellow or orange areas may indicate avalanche-prone zones. Always read the legend of the specific trail map, as markings can differ per ski area.