Which snowboard repairs can you do yourself after lessons?
After an intensive snowboard lesson, you might notice minor damage to your board. Most superficial scratches, small dents, and light edge damage can be repaired yourself with the right tools and techniques. DIY repairs save money and ensure your board is quickly ready for the slopes again. Below you’ll find answers to frequently asked questions about snowboard repairs you can perform at home.
What snowboard damage can you recognize and assess yourself?
You can identify various types of snowboard damage yourself by visually inspecting your board and feeling over the surface with your fingers. Superficial scratches in the base, light edge damage, loose binding screws, and small dents are usually suitable for self-repair.
Check your snowboard systematically after each day on the slopes. Look at the base for white scratches caused by rocks or ice. Feel along the edges for burrs or minor damage. Test whether all binding screws are still tight by carefully tightening them.
Self-repair is possible for scratches that don’t go deeper than the top layer of the base, minor edge damage without major breakouts, and loose parts that can simply be tightened again. When you can see core material (the wooden core) through the damage, or when large pieces are missing from the edges, professional help is needed.
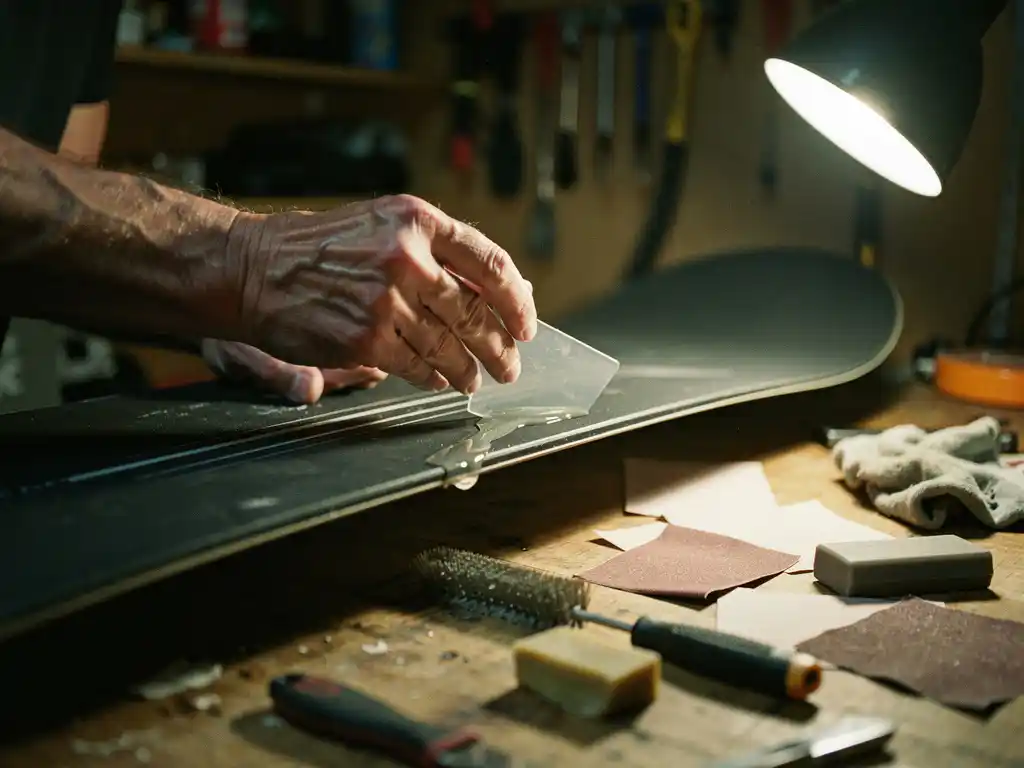
How do you repair small scratches and damage to your snowboard base?
Repair small scratches in the base with P-tex candles and a lighter. First clean the damaged area, light the P-tex candle, and let the molten material drip into the scratch until it’s filled.
You’ll need: P-tex candles, a lighter, a metal scraper, sandpaper (220 and 400 grit), and a file. Heat the candle until it starts dripping and slowly fill the scratch. Let the material harden for about 30 minutes.
Then scrape away the excess P-tex with a metal scraper so the surface becomes flat again. Sand the repaired area smooth with coarse sandpaper, followed by fine sandpaper. Finish with a light wax treatment to make the base smooth again. This process works well for scratches up to about 2 mm deep.
What can you do about damaged or dull snowboard edges?
Dull or lightly damaged edges can be sharpened yourself with an edge tool or file. Use an angle of 88–90 degrees for the side edge and 1–3 degrees for the base edge, depending on your riding style and preference.
Start by removing rust or burrs with a diamond file. Always work from tip to tail in long, even movements. For the side edge, use an edge tool with the correct angle setting. Make 3–5 strokes per section and regularly check your progress.
Be careful not to remove too much material at once. Edges that are sharpened too often become thin and break more easily. After sharpening, you can detune the edges at tip and tail to prevent catching. This gives you more control during carving and prevents unexpected reactions from your board.
How do you maintain snowboard bindings after intensive lessons?
After intensive snowboard lessons, check all screws for tightness and clean the moving parts of ice and dirt. Tighten loose screws and lubricate hinges with silicone spray for smooth operation.
Remove your bindings completely from the board for thorough cleaning. Rinse all parts with lukewarm water and use a soft brush for stubborn dirt. Check the baseplate for cracks and the straps for wear.
Inspect the buckles and ratchets for proper function. Replace worn pads and straps in time to maintain comfort and safety. Lightly lubricate all moving parts with silicone spray, but avoid oil-based products as they attract dirt. Store your bindings dry to prevent rust.
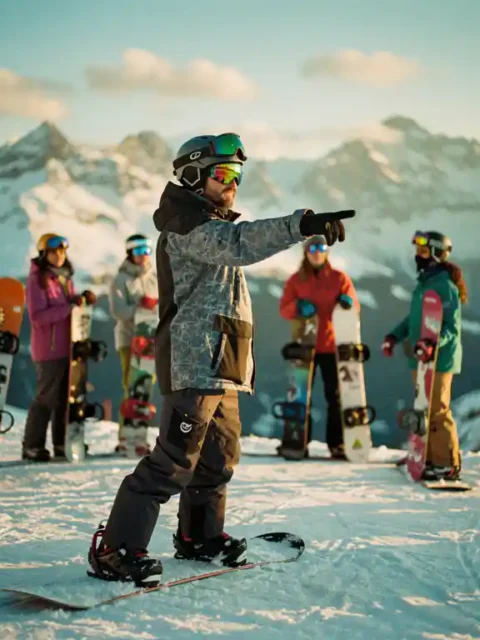
Why do good snowboard lessons through Ski-Pro help prevent damage?
Professional instruction through Ski-Pro’s network with certified snowboard schools teaches you correct techniques that minimize unnecessary contact with obstacles. Good instructors show you how to stop and fall safely, which prevents damage to your equipment.
Ski-Pro compares more than 350 snowboard schools in the Alps and selects only certified instructors who prioritize safety techniques. By learning proper carving techniques, you prevent dragging your board over hard surfaces. Instructors also teach you how to recognize and avoid rocks and ice.
Correct falling and stopping techniques protect not only yourself, but also your snowboard from unnecessary impact. Through our platform, you can easily find the best instructors in your region, based on level, budget, and lesson style. Investing in good lessons ultimately saves money on repairs and equipment replacement.
When should you take your snowboard to a professional repair service?
Take your snowboard to a professional for large core shots where wood is visible, serious edge damage with major breakouts, or structural damage to the board, such as delamination or a broken core.
Professional repair is needed when damage goes deeper than the base material and reaches the wooden core. Also edges where large pieces are missing or that are completely torn loose require special tools and expertise. Delamination (where layers separate from each other) can only be professionally repaired.
Structural problems like broken or deformed cores are dangerous to repair yourself. A professional has access to industrial adhesives, presses, and heating equipment needed for these repairs. If you doubt the safety of your board after damage, always have it checked by an expert.
With the right knowledge and tools, you can perform much snowboard maintenance yourself, saving time and money. Start with small repairs to gain experience and invest in quality lessons through Ski-Pro to minimize future damage. This way you’ll continue enjoying perfect days in the powder snow!
Frequently Asked Questions
How often should I check my snowboard for damage during a ski vacation?
Ideally check your snowboard every evening after a day on the slopes. A quick 5-minute visual inspection can prevent much bigger problems. Pay special attention to new scratches, loose binding screws, and edge damage after days with icy or rocky conditions.
Can I perform P-tex repairs in my hotel room or chalet?
Yes, you can perform P-tex repairs perfectly well in a well-ventilated space. Ensure adequate ventilation due to fumes, lay down newspaper to catch drips, and keep a glass of cold water handy to quickly extinguish the P-tex candle. Always work by an open window or on a balcony.
What tools should I bring for emergency repairs during my ski trip?
A basic repair kit contains: P-tex candles, a small diamond file, a pocket edge tool, a multi-tool with screwdriver, and some sandpaper. This kit fits in a small bag and solves 80% of problems that can arise during a vacation.
What should I do if my snowboard has damage but I still have 3 days left on vacation?
With small scratches you can temporarily continue riding, but fill them with P-tex in the evening to prevent further damage. With edge damage you can file away sharp points for safety. Large core shots or structural damage means you must go directly to a local ski service - most ski areas have repair services that work within 24 hours.